
Ready to get your book formatted for Kindle? The whole process boils down to a few key stages: you’ll start by cleaning up your manuscript in a word processor like Microsoft Word or Scrivener, apply consistent styling to all your text, and then upload the final file to Kindle Direct Publishing (KDP).
This isn't just about making things look good. Getting this right ensures your book transforms into a polished, professional e-book that automatically adapts—or "reflows"—to look fantastic on any screen, from a tiny phone to a large Kindle Scribe.
Why Getting Your Kindle Formatting Right is Non-Negotiable
Before you jump into the technical steps, let’s talk about why this is so critical. Think about the last time you read a book with weird spacing, inconsistent fonts, or chapter titles that looked just like the regular text. It’s jarring, right? It yanks you right out of the world the author created.
Poor formatting is more than a minor annoyance; it screams "amateur" to your readers, and that can lead directly to bad reviews that sink your book's visibility. Think of your raw manuscript as the raw ingredients for a gourmet meal. If you just toss them in a pan without any care, you get an inedible mess. But with proper prep, you create an experience people will savor and recommend.
The e-book marketplace is no longer a small niche. The number of people reading e-books worldwide has surged from 700 million back in 2017 to over 1 billion today. As the audience has grown, so have their expectations. You can dig into more of these e-book trends to see just how competitive the space has become.
The reality is, your self-published book isn't just up against other indies. It’s sharing a digital shelf with major bestsellers from the world's biggest publishing houses. Your formatting has to be just as good.
To get started on the right foot, let's look at the foundational checklist for preparing your manuscript.
Essential Kindle Formatting Checklist
Before diving deep into the styling tools, run through this quick checklist. Getting these fundamentals right from the beginning will save you a ton of headaches later when you're trying to figure out why your e-book looks broken.
| Formatting Element | Best Practice | Why It Matters |
|---|---|---|
| Paragraph Indents | Use the "first line indent" setting in your paragraph style. | The Tab key creates fixed spaces that look wrong on different screen sizes and with different fonts. |
| Spacing Between Paragraphs | Use the "space before/after" setting in your paragraph style. | Hitting Enter twice creates blank lines that cause ugly gaps and disrupt the reading flow. |
| Headings | Apply Heading 1, Heading 2, etc., using the Styles menu. | This creates a clickable table of contents and ensures your chapters are structured correctly. |
| Page Breaks | Insert a "Page Break" only at the end of a chapter. | Manual breaks or extra Enter key presses cause bizarre blank pages in the final e-book. |
| Double Spaces | Use your word processor’s "Find and Replace" to change all double spaces to single spaces. | Double spaces are a relic from typewriters and create inconsistent, ugly gaps in digital text. |
Treating these items as your pre-flight check ensures that the file you start working with is clean, consistent, and ready for a smooth conversion to the Kindle format.
The Foundation of Good Formatting: Styles
So, how do you put these best practices into action? It all comes down to one core concept: using Styles. This is hands-down the most important habit to adopt.
Instead of highlighting text and manually changing the font, size, or indentation, you define a "style" for each element of your book.
- Body Text: Create a style for your main paragraphs that includes your font choice and a first-line indent of about 0.3 to 0.5 inches.
- Chapter Titles: Use the built-in Heading 1 style. This tells KDP, "This is the start of a new chapter."
- Subheadings: Use Heading 2 and Heading 3 for any sections within your chapters.
- Blockquotes: Create a custom style for indented quotes that has a left indent but no first-line indent.
Working this way ensures that if you decide to change the look of your chapter titles, you only have to update the Heading 1 style once, and every single chapter title in your manuscript will update automatically. It's the secret to consistency and a huge time-saver.
Preparing Your Manuscript in Microsoft Word
For most authors, Microsoft Word is home base. It’s familiar, it’s powerful, but it’s also a minefield of hidden formatting issues that can wreck your Kindle ebook. Getting your manuscript right in Word is the first real, hands-on step to a professional-looking final product. Think of it as creating a clean, solid blueprint before you even think about construction.
The entire goal here is to strip away all the manual, “invisible” formatting you’ve probably added over time. We'll replace it with clean, consistent styles. This simple act ensures that when you upload your book to Kindle Direct Publishing (KDP), its system can correctly read every element, from chapter breaks to paragraph indents.
Taming Your Text with Styles
If you take only one piece of advice from this guide, let it be this: use the Styles pane. It’s the single most important feature for clean formatting. Instead of highlighting text and manually changing the font or size, you apply a pre-defined style.
This approach creates universal consistency. Imagine you decide your body text font is a little too small. Instead of hunting through 300 pages, you just update the "Normal" style once. Every single paragraph in your book will change automatically. It’s a game-changer.
You only need to worry about a few key styles to start:
- Normal: This is for your main body text. I usually recommend setting your font to something classic like Times New Roman, size 12, and adding a first-line indent of 0.3 inches. Crucially, don’t ever use the tab key for indents.
- Heading 1: This is exclusively for your chapter titles (e.g., "Chapter 1," "Prologue"). This is the tag KDP looks for to build your ebook’s clickable table of contents. Get this right, and the navigation will work flawlessly.
- Heading 2 & 3: Perfect for any subheadings you have within your chapters.
My Pro Tip: Don't bother creating new styles from scratch. It’s much easier to just modify the ones that are already there. Right-click on "Normal" or "Heading 1" in the Styles pane and select "Modify" to tweak the font, spacing, and indentation.
Finding and Fixing Formatting Gremlins
Over time, Word documents accumulate all sorts of invisible formatting junk—extra spaces, tabs used as indents, and manual line breaks. These little gremlins will absolutely wreak havoc on your Kindle file, creating weird gaps and broken paragraphs.
Your best friend for this cleanup job is the "Show/Hide" paragraph mark (¶), which you can find on the Home tab. Clicking this little symbol reveals every single space, tab, and enter keystroke in your document. Turn it on and go on a hunt for these common culprits:
- Double spaces after periods: This is a habit from the typewriter era. The fastest fix is using "Find and Replace" (Ctrl+H). Search for " " (two spaces) and replace all instances with " " (one space).
- Tabs used for indents: You’ll see these as little arrows (→). Delete every single one. Your "Normal" style, with its built-in first-line indent, handles this for you automatically.
- Multiple paragraph returns: If you see a stack of ¶ marks, it means you hit the Enter key repeatedly to create space between paragraphs or sections. Delete these extra returns. To add space, modify your style's settings using the "Space Before/After Paragraph" option.
For a deeper dive into these core principles, which apply to both print and digital books, check out our comprehensive guide on how to format a book.
Structuring Your Front and Back Matter
Your manuscript is more than just the story itself. You also have front and back matter—the title page, copyright, author bio, and so on. You'll want to structure these sections using the same style-based approach.
This infographic lays out the ideal structure for your document.
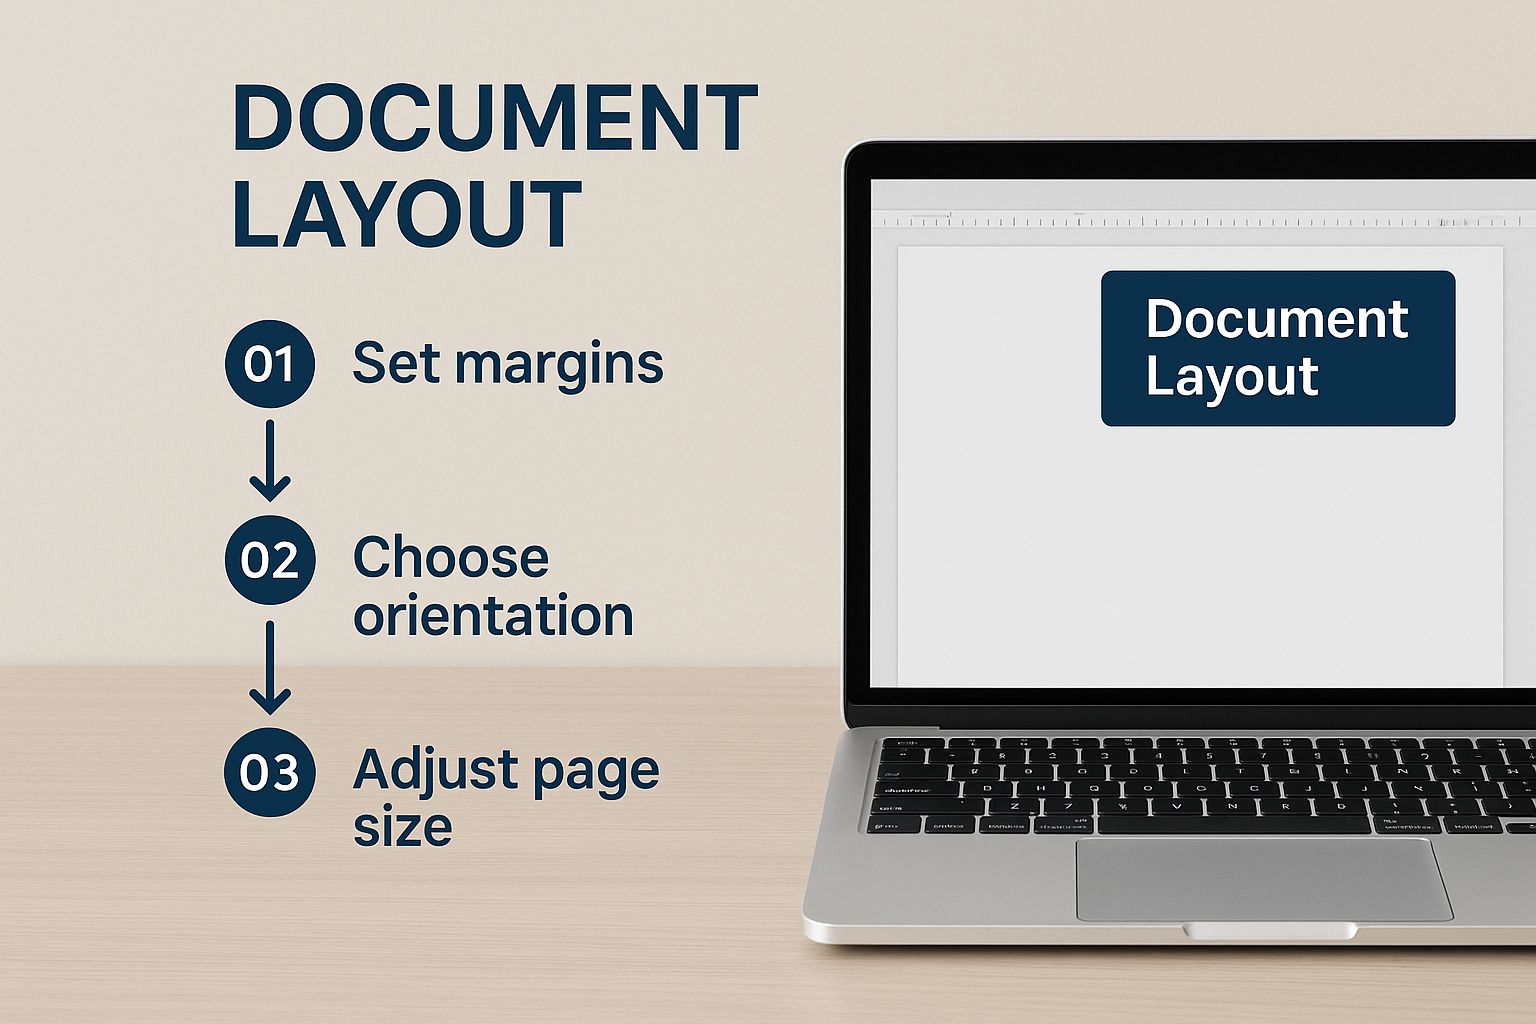
The key takeaway here is that a clean document is the foundation of a great Kindle book. Every distinct section, from your title page to your author bio, should start on its own fresh page. The right way to do this is by inserting a Page Break (found under the Insert menu), not by mashing the Enter key until you spill onto the next page.
Remember to apply your "Heading 1" style to the titles of these sections (e.g., "Copyright," "About the Author"). This tells KDP that they are major sections, which allows them to appear in your table of contents if you choose. This clean, logical structure is the secret to a perfect conversion to Kindle format.
Building a Clickable Table of Contents
When you’re putting together a professional Kindle book, a dynamic, clickable Table of Contents (TOC) isn't just a nice-to-have feature; it's an absolute necessity. Remember, in a reflowable ebook, readers can change font sizes and even screen orientation on the fly. This makes static page numbers completely irrelevant.
The good news? If you've diligently applied the Heading 1 style to all your chapter titles as we covered earlier, you've already done the hard part. Microsoft Word can now do the rest of the work for you, creating a perfect, automated TOC in just a few clicks.
Generating Your Automated TOC
First, find the blank page you set aside for your Table of Contents—this usually lives right after the copyright page. Put your cursor on that page. Now, head up to the "References" tab in Word's top ribbon. Over on the far left, you’ll see the "Table of Contents" button.
Give that a click. You'll see a few pre-designed options like "Automatic Table 1" and "Automatic Table 2." Pick one of those. Like magic, Word will scan your entire document, hunt down every single piece of text you styled with Heading 1, and instantly build a hyperlinked list.
The real power here is that Word isn’t just grabbing the text. It’s creating a live link from each TOC entry directly to that chapter’s heading in your book. This is what gives your readers that smooth, seamless navigation experience they expect.
You’ll probably notice the TOC includes page numbers. Don't worry about them. You can just leave them in for now. When you upload your book, KDP’s conversion tools are smart enough to strip those out and use the hidden hyperlinks instead.
Customizing and Keeping Your TOC Fresh
Your new TOC might need a little tidying up. Sometimes you might accidentally style your title page as a heading, and it will show up here. You can easily remove unwanted entries or make other adjustments.
The most important thing to remember is to update the table whenever you change your manuscript. Think of it as a living part of your document.
- Did you add a new chapter? After you've written it and styled the title with Heading 1, you need to tell your TOC to include it.
- Did you rename a chapter? If you change "Chapter Five" to something more exciting like "The Final Confrontation," you have to update the table to show the new title.
To do this, just click anywhere inside the TOC. You'll see an "Update Table" option appear. When you click it, Word will ask if you want to "Update page numbers only" or "Update entire table."
Always, always choose to update the entire table. This is a critical step. It ensures that any new chapters are added, deleted ones are removed, and title changes are reflected. Keeping your TOC perfectly in sync with your manuscript is one of the keys to a flawless Kindle conversion.
Getting Your Manuscript Uploaded and Converted on KDP

Alright, your manuscript is looking sharp and your Table of Contents is ready to go. Now for the exciting part: bringing it all together inside your Kindle Direct Publishing (KDP) dashboard. This is where your document transforms into a genuine Kindle ebook.
When you upload your file, Amazon's system kicks into gear. It’s a sophisticated conversion process that reads all the hard work you put into styling—your headings, paragraph breaks, and every other detail—and translates it into a flexible format that looks great on any Kindle device or app.
What File Format Should You Use?
Once you navigate to the "Kindle eBook Content" section in your KDP project, you'll see the prompt to upload your manuscript. While there are a few options, it really comes down to two main choices for most authors: DOCX or EPUB.
- DOCX (Microsoft Word): Honestly, for most people following a guide like this, a clean Word document is the simplest and most reliable path. KDP’s converter is specifically designed to understand Word's styling, especially things like using "Heading 1" for your chapter titles. It just works.
- EPUB: This is the industry-standard format for ebooks. If you’ve been using a specialized tool like Vellum or Scrivener, this is what you’ll export. EPUB files give you a ton of control, but they can also be finicky. If it isn't built perfectly, you might run into errors.
My advice? Stick with the clean DOCX file you've already prepared. It's the most direct route to a professional-looking ebook and helps you sidestep the technical headaches that a poorly made EPUB can cause.
KDP is built to handle just about anything you can throw at it, accepting files up to 650 MB and 8,000 pages long. This robust capacity is essential for serving Amazon's massive e-reader market, which captures a staggering 72% share in the United States. You can learn more about the dominance of ebooks in today's market.
Finalizing Your Cover and DRM
Right after the manuscript upload, you’ll be asked for your cover file. Don't underestimate this step—it’s your book’s number one sales tool. You'll want to upload a high-quality JPEG or TIFF. For the crispest look, Amazon's sweet spot is a resolution of 2,560 x 1,600 pixels.
Next up is the Digital Rights Management (DRM) decision. DRM is essentially copy protection, designed to stop people from illegally sharing your ebook.
It sounds like a no-brainer, but here’s some real-world perspective: many successful authors opt out. The truth is, determined pirates will find a way around DRM anyway, and sometimes it just frustrates legitimate readers who want to move their purchased book to a different device. The choice is yours, but going without DRM is a common, reader-friendly approach.
After making these decisions, you’re one giant step closer to hitting publish. If you want a full overview of the entire journey, you can check out our other guide on how to publish an ebook.
Validating Your Book with Kindle Previewer
https://www.youtube.com/embed/gxTNbc5WkSQ
I can't stress this enough: never, ever hit ‘publish’ without this final quality check. After all the time you've poured into writing, editing, and styling your manuscript, this is your last line of defense. Using Amazon's free Kindle Previewer software is what separates a professional launch from a frustrating one.
This isn't just a recommendation; it's a non-negotiable step. The tool lets you see exactly how your book will render on all sorts of devices—from a classic Paperwhite to a full-color tablet and even a phone. This is your one chance to catch those pesky formatting gremlins before a reader does, saving you from the dreaded "bad formatting" one-star reviews.
The Final Pre-Flight Check
Once you have Kindle Previewer installed, go ahead and open your finished DOCX or EPUB file. The trick here is to be methodical. Don't just give the first page a quick glance and call it good. Much like a web developer is checking for errors before a site goes live, you need to be just as thorough to ensure a flawless reading experience.
Go through your book page by page, almost like a detective. I always focus on these specific areas:
- Clickable Table of Contents: Test every single link. Does clicking on "Chapter 5" actually take you there? Or does it land you in the middle of Chapter 4?
- Image Display: Are your images sharp and correctly placed? Or are they creating weird text wrapping or looking pixelated?
- Text and Spacing: Hunt for any odd line breaks, inconsistent paragraph spacing, or big, ugly gaps between sections.
- Heading Consistency: Do all your main chapter titles look identical? Check for any that might have been missed by your styling.
Catching a single formatting mistake here—like a rogue page break or a forgotten indent—is often the difference between a book that feels polished and one that looks thrown together. Your attention to detail really shines in this phase.
Understanding Why This Matters
This strict validation process is crucial because, let's face it, Amazon effectively sets the rules. With Amazon's Kindle Direct Publishing platform accounting for around 67% of U.S. ebook sales and 79% of all ebook purchases, their format is the industry standard. To learn more, you can discover KDP's platform requirements right from the source.
If you spot an error, don't sweat it. Just go back to your original Word document, fix the problem at the source, re-save, and then re-check it in the Previewer. It can be a bit of a back-and-forth process, but it’s absolutely worth it for a polished final product. This same iterative mindset is helpful when dealing with other publishing details, too, like figuring out what identifiers your book needs. If you're at that stage, our guide on how to get an ISBN for my book might be useful.
Common Kindle Formatting Questions
Even with the best guide in hand, you’re bound to hit a few snags. It’s just part of the process. This is where the step-by-step instructions meet the real world, so let's walk through some of the most common questions and roadblocks I see authors encounter.
Getting these details right can save you a mountain of headaches down the line.
Should I Use Kindle Create or a Word Document?
This is a classic fork in the road for many self-publishers. For the overwhelming majority of books—I’m talking about novels, memoirs, and most non-fiction—a clean, well-formatted Word document (DOCX) is your most direct path to a great-looking Kindle book.
Why? Because Amazon's Kindle Direct Publishing (KDP) conversion tool is built to perfectly interpret Word files that use Styles correctly. It’s a smooth, reliable process.
Kindle Create is Amazon's own free software, and it does have some neat features like pre-designed themes and drop caps. But here's the catch: it adds an extra, often unnecessary, step to your process. More importantly, it can lock your manuscript into its own proprietary format, which makes it a real pain if you ever want to upload that same file to other platforms.
If your goal is a professional ebook without a steep learning curve or being locked into Amazon's ecosystem, a properly prepared Word document is the smarter, more flexible choice.
For books with really complex layouts, like a cookbook packed with images or a graphic novel, you might look at specialized tools like Vellum or Scrivener. But for most writers, Word is all you'll ever need.
How Do I Format Images for a Kindle Book?
Handling images is a crucial balancing act. You want them to look sharp, but you also need to keep your ebook's file size in check. Amazon charges a delivery fee based on file size, so overly large images will literally eat into your royalties.
First rule: Always insert images using Word's Insert > Picture function. Never, ever copy and paste them directly. Pasting is a recipe for disaster and can cause bizarre formatting errors when your book is converted.
Here's my checklist for getting images right every time:
- File Type: Stick with JPEGs (.jpg). They give you the best combination of quality and file compression for photos and most other visuals.
- Resolution: Make sure your images are at least 1000 pixels on their longest side. This ensures they look crisp and clear, even on a high-definition tablet screen.
- Compression: Before you even insert the image into Word, run it through an image editor to compress it. You want to shrink the file size without any noticeable loss in quality.
- Text Wrapping: This is the most critical step. Once the image is in your document, right-click it, find "Wrap Text," and choose "In Line with Text." This anchors the image to the text around it, so it doesn't float around and create chaos when a reader changes the font size.
Nailing this ensures your visuals are an asset, not a liability.
What Is Reflowable Versus Fixed Layout?
If you only learn one technical concept about ebook formatting, make it this one. The difference between "reflowable" and "fixed layout" defines the entire reading experience.
A reflowable layout is the standard for almost every novel and text-based non-fiction book. The content is fluid. It allows the reader to take control by changing the font, making the text larger or smaller, and adjusting line spacing. The words then automatically "reflow" to fit whatever screen they're using, from a small phone to a big Kindle Scribe.
A fixed layout, on the other hand, is completely static, like a PDF or a magazine page. The text and images are locked into a specific design. The reader can't change the font size or style. This format should only be used for books where the precise placement of text and images is absolutely essential.
Here’s a simple way to think about it:
- Reflowable: Novels, memoirs, business books, and most non-fiction. This is what you want 99% of the time.
- Fixed Layout: Children's picture books, comic books, complex textbooks, and art books.
The best part? When you upload a properly formatted Word document to KDP, the system automatically creates a perfect reflowable ebook for you. You don't have to do anything extra.
Feeling overwhelmed? You don't have to navigate the publishing world alone. At BarkerBooks, we transform your manuscript into a professionally published book, handling everything from expert editing and cover design to global distribution. Let our team of experts guide you every step of the way. Discover our publishing packages today.